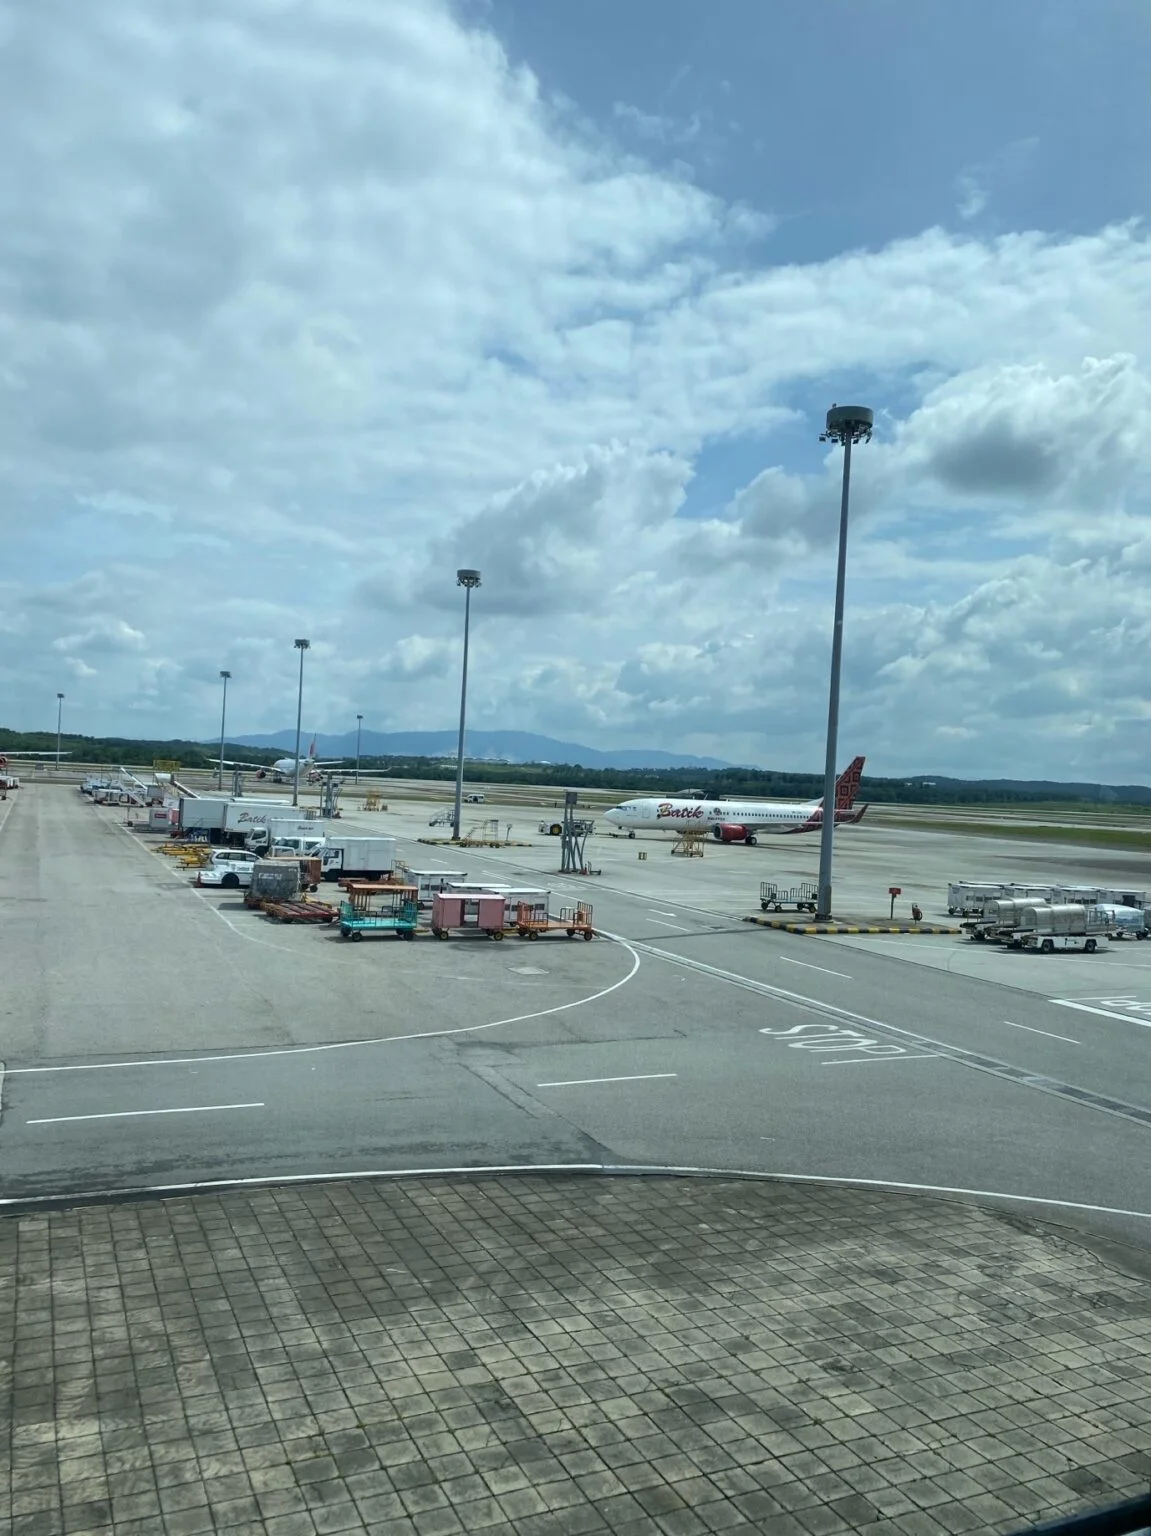
This is the guide I wish someone had handed me before I landed in Kuala Lumpur on a student visa. The exact process can shift slightly depending on your university, but most of the documents and steps stay the same across Malaysian public universities — I went through it myself as a new student at Universiti Sains Malaysia (USM), and this is what actually happened, step by step.
This guide covers everything from receiving your Single Entry Visa to completing registration after arriving in Malaysia.
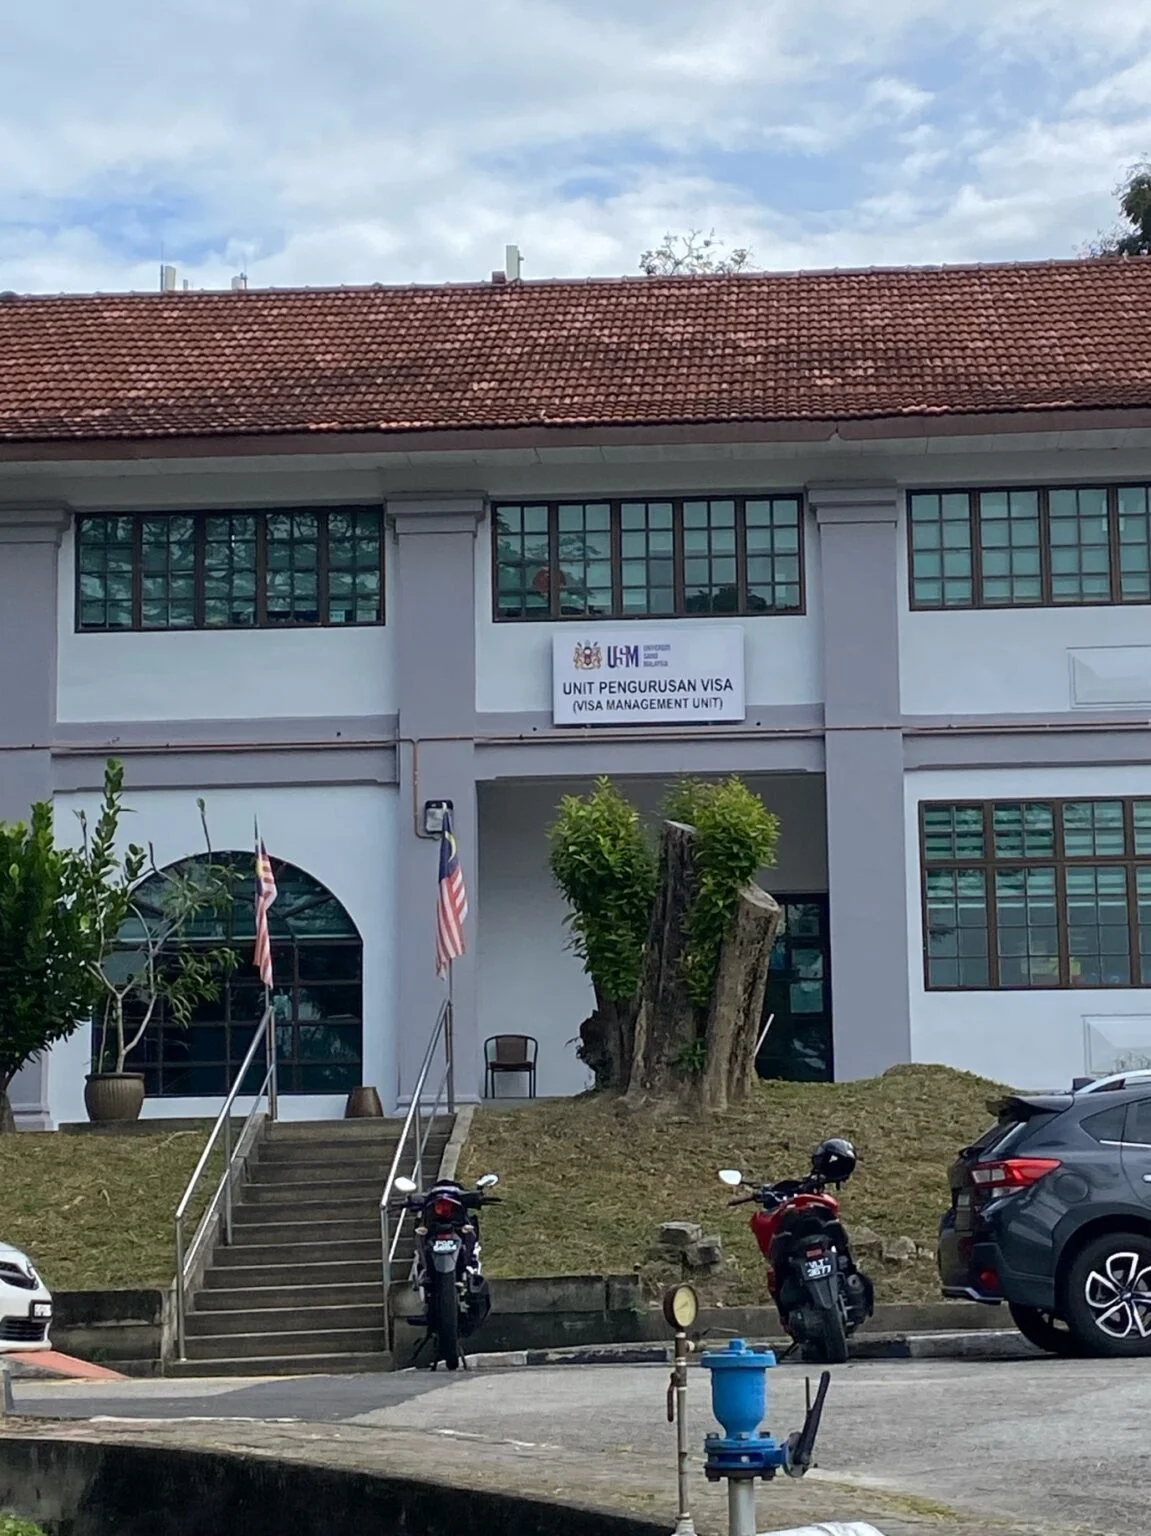
What to have ready before you reach the immigration counter.
Arrival & immigration
Once you land in Kuala Lumpur, head to the extreme right side at immigration — there are counters specifically for students. I got this wrong on my first try: I queued in the regular line, and it was only after the officer checked my documents that I got redirected to the student counters.
I don't remember the exact numbers, but mine were somewhere around Counter 16, 17, and 18 — these may well change over time, so treat them as a rough pointer rather than a guarantee. The important part is simply this: students have their own dedicated counters, so go looking for them rather than joining the general queue.
Have these ready before you reach the counter:
- Passport
- Single Entry Visa
- Boarding pass
The immigration officer will place two stamps in your passport — one is the student pass, and I'm honestly not certain what the second one covers. Both are mandatory for the next steps at your university, so check them before you walk away.
Reporting to your university
After I arrived at USM, two things needed sorting, both inside the university itself:
- Medical insurance
- Medical examination / medical certificate
I went to the Visa Management Unit at IMCC (International Mobility & Collaboration Centre), on the first floor. You take a token from the machine and wait your turn — I'd recommend getting there around 9:00 AM. There were already a few students waiting when I arrived, but the process itself moved smoothly.
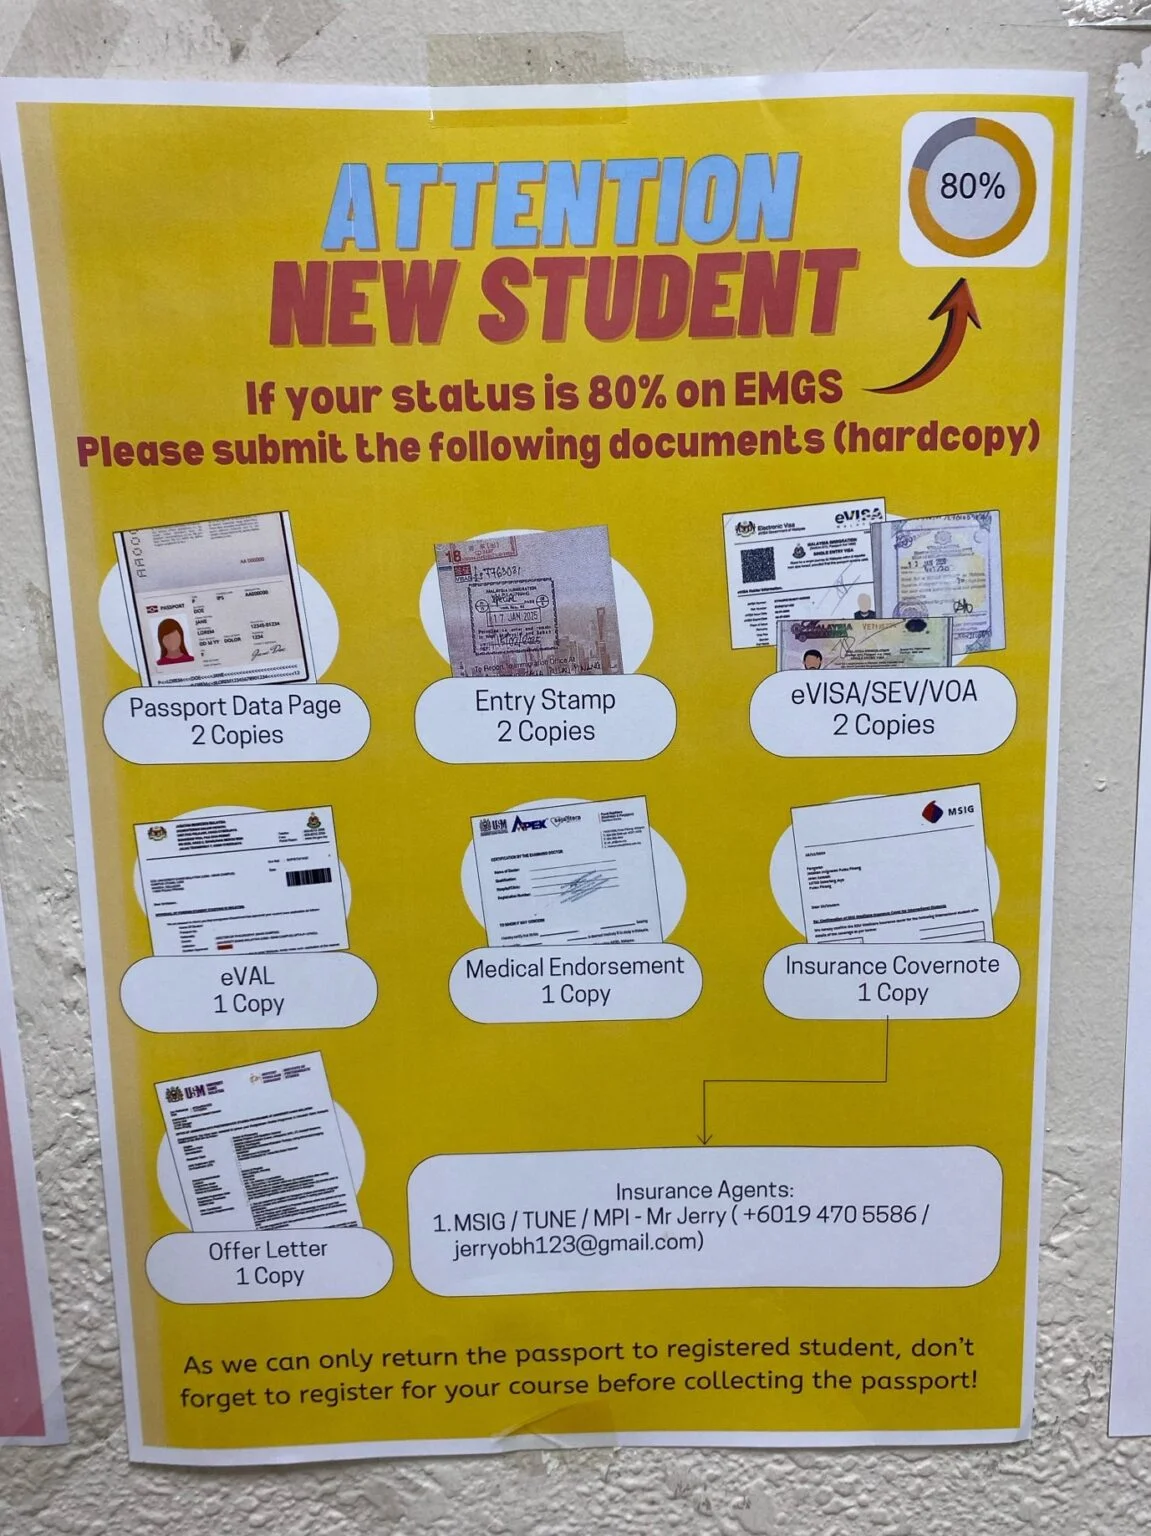
Visa Management Unit at IMCC, Universiti Sains Malaysia.
When my turn came, I asked about medical insurance. The staff gave me a contact number and told me to reach out over a call or WhatsApp. I messaged them and was asked to send over:
- Passport main page photo
- Single Entry Visa photo
- University email ID
I was told to pay RM 320 into a CIMB Bank account — conveniently, it's located right opposite the Visa Management Unit. I paid in cash, sent the payment slip over WhatsApp, and had my insurance document in my inbox within about an hour.
The medical examination
The USM Medical Centre is about a 7-minute walk from the Visa Management Unit.
At the entrance, you scan a QR code to book your appointment. I got there a few minutes before 10:30 AM and managed to grab a same-day slot right then. The last booking slot is usually 11:30 AM, and the centre closes at noon — so earlier is genuinely better here.
You'll need an email address or a local mobile number to complete the booking — I used my USM email. Once you're through, you get a QR code for entry.
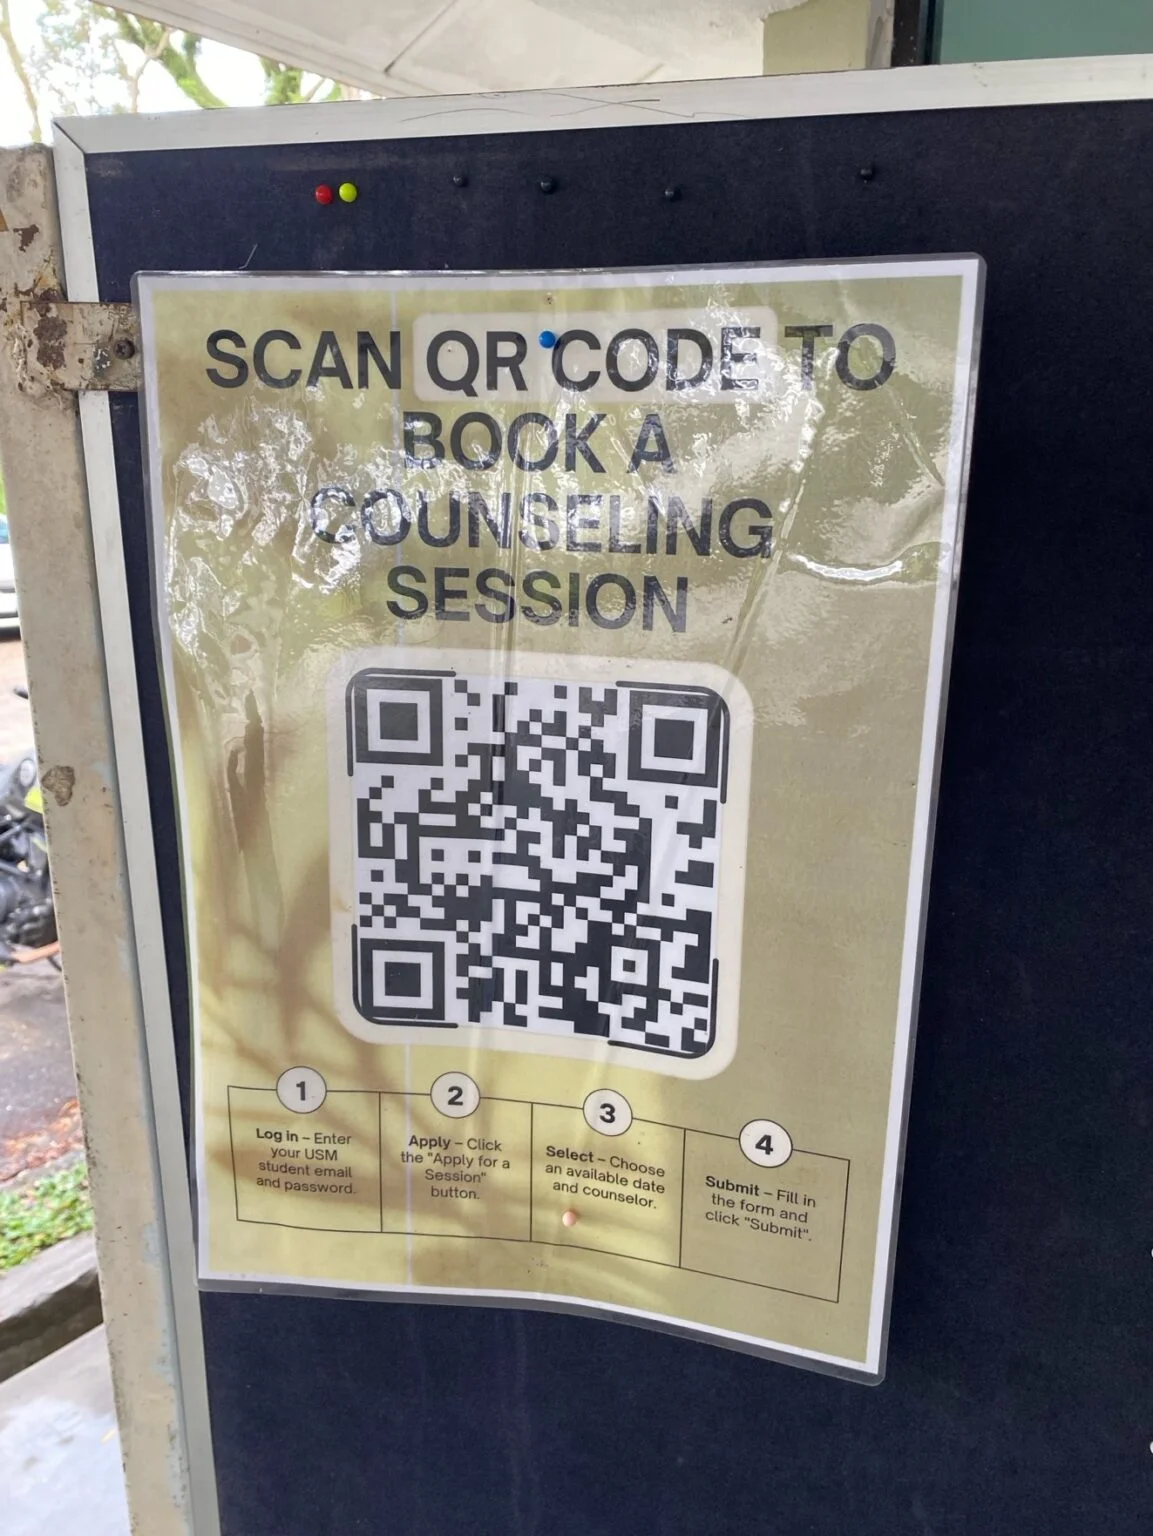
Scan this QR code to book your medical appointment.
Inside the medical centre
Scan your QR at the gate to get in. Inside, there's a short queue at a machine where you scan the code again for a receipt with a number — staff are around if you need pointing in the right direction.
Take that receipt up to the first-floor registration hall. You'll be asked for your student offer letter and passport, and you'll need to pay RM 360 in cash.
The exam itself can take up to an hour, but it's well organised. You'll then be asked to come back at 2:00 PM to collect your reports, where a doctor signs off and hands them over. You'll get two copies — one for the Visa Management Unit, one for IPS.
By the time your results are ready in the afternoon, the Visa Management Unit will likely already be closed for the day — so plan on a return visit the next morning rather than trying to finish everything in one go.
Final submission at the Visa Management Unit
The next day, I was back at IMCC by 9:00 AM with the following documents ready:
- Passport main page copies (2)
- Passport stamp page copies — the KL airport stamp (2)
- Single Entry Visa copies (2)
- eVAL copies (2)
- Medical certificate (1 original)
- Health insurance (1 copy)
When my turn came, the officer reviewed everything quickly and asked for RM 340 via card, which I paid with my credit card. And that was it — process complete. I was told to check my email regularly and to expect around two weeks for the next update.
Frequently asked questions
How should I prepare for payments during registration?
Payment methods can vary by student. In my case, I paid cash for the medical test and insurance, and card for the visa fee — but a friend of mine wasn't allowed to pay cash for the medical test and had to use a card instead. Safest bet: carry both cash and a debit or credit card with international transactions enabled.
How long does the student pass process take after submission?
Usually around four weeks after submitting to the Visa Management Unit, though timelines vary. I was personally told to check back in two weeks.
Processes, fees, and requirements shift over time and can vary by university. Always confirm the latest instructions directly with your own institution rather than relying on any single account — including this one.
Your checklist
Ticks are just for this visit and aren't saved anywhere.
My takeaway
None of this is complicated once you know the order it happens in — it's just a lot of small steps, spread across two mornings, at counters that aren't always obvious to find. If you're heading to USM specifically, this is close to exactly what to expect. If you're going elsewhere, the documents and fees will likely look similar even if the office layout doesn't.
The one thing I'd tell myself beforehand: don't assume the regular immigration queue is the right one, and don't assume one morning is enough. Bring both cash and a card, bring extra copies of everything, and give yourself the time.
This account is specific to my own registration at USM in January 2026. Steps and fees can differ slightly by university and may change over time — check with your own institution before you travel.
I went through this process myself as a new international student, and this guide reflects exactly what happened at each stage, including the parts I got wrong along the way.